We just said goodbye to Spooky Season, so it’s time to jump into Thanksgiving planning! Whether you’re hosting a traditional Thanksgiving with your immediate family, enjoying a COVID-friendly virtual gathering option, or embracing the opportunity to reunite with an abundance of family members again, we are here to help you create an extra special Thanksgiving table design. Below we’ve provided 6 easy steps to help you transform your dining room table into a Pinterest-worthy Turkey Day masterpiece.
Step One: Collect Your Materials
Before you can create a jaw-dropping tablescape, make sure you have all the necessary materials to get crafty. Our Director of Floral + Design, Colton Weyant-Staver, explains that in order to make a stellar flower arrangement, you’ll need a vase filled with either water or Oasis Foam, scissors or clippers, and three different types of florals. According to Colton, first, you’ll need focal blooms, such as mums or roses, to stand out and grab attention in the arrangement; next you’ll want some seasonal accents, like leaves or button mums, to tie in the fall vibes and give your flowers that Thanksgiving look; lastly, you’ll finish off the arrangement with some textural greenery to make the arrangement full and vibrant. Once you’ve collected all your essential items, you’re ready to move on to the next step.
Step Two: Prepare the Focal Blooms
Now that you’ve gathered your flowers and design tools, it’s time to put them to use. Colton instructs that you should start by designing the focal blooms because they’re the focus of your arrangement. It will be easy to fill in the rest of the florals once the focal blooms are in place. Cut them based on the size of your vase and your personal preference for how tall the arrangement should be. Blow into the roses with your mouth so they open up to their fully bloomed shape and you can see what they’ll actually look like when you complete the design. Now, I’m sure you’re wondering, “how many focal blooms should I have in my arrangement before it becomes too busy?” Colton suggests limiting the arrangement to five or six blooms to keep them attention-grabbing, but not overpowering. Also, if you want to keep your focal blooms looking fresh for a long time, here’s a pro tip: remove those guard petals on the outside of your roses because they are the ones that wilt and turn brown the fastest!
Step Three: Add in the Filler Greens
After you’re finished cutting and designing your blooms, you’re ready to start adding in your filler greenery and textures! Colton decided to bring in some fun seasonal filler textures with orange oak leave and grevillea. As you fill in some gaps in your arrangement with the filler flowers, make sure you’re not placing similar colors next to each other. In Colton’s design, he made sure to keep his orange oak leaves away from the burnt orange roses, because placing those two items too close to each other would take away from the color variation in the arrangement. Also, don’t be shy with combining different lengths for your greenery. It gives the arrangement a textured and sophisticated look. Now that you’ve added those gorgeous filler greens, you’re ready to incorporate some seasonal accents.

Step Four: Incorporate Seasonal Accents
To top off your Thanksgiving floral decor, you’ll want to add in some accent flowers that really bring out the fall vibes. In Colton’s floral design, he uses millet and other types of grasses. Because they’re a lot smaller than the other flowers and greenery in the arrangement, Colton suggests clustering the millet and other seasonal accents so they still stick out and grab attention. To add more dimension, he uses some rusty orange button mums and amaranthus because they have more of a unique presence than the grass. Don’t forget to spread out your colors so you don’t have lots of orange, burgundy, or copper next to each other. To finish off the seasonal accents, Colton includes some chocolate lace flowers, which come in multiple different fall colors. He chose to incorporate these types of flowers last because they stand out in shape from the other accents. Once you’re done with your fall flowers, you can begin the final steps!
Step Five: Complete the Look with Moss
At this point, your centerpiece is practically perfect; you’ve fluffed your focal blooms, filled in your greenery, and sprinkled in some seasonal touches. To make sure your Thanksgiving table design will drop some jaws and turn some heads, you need one more important component: moss. Yup, you read that right, moss is the final piece that will bring your floral arrangement to life. In his design, Colton uses Spanish moss to fill the bottom of the arrangement and peek out the sides. This final addition gives variation and an extra layer of texture to your centerpiece.
Step Six: Set the Table
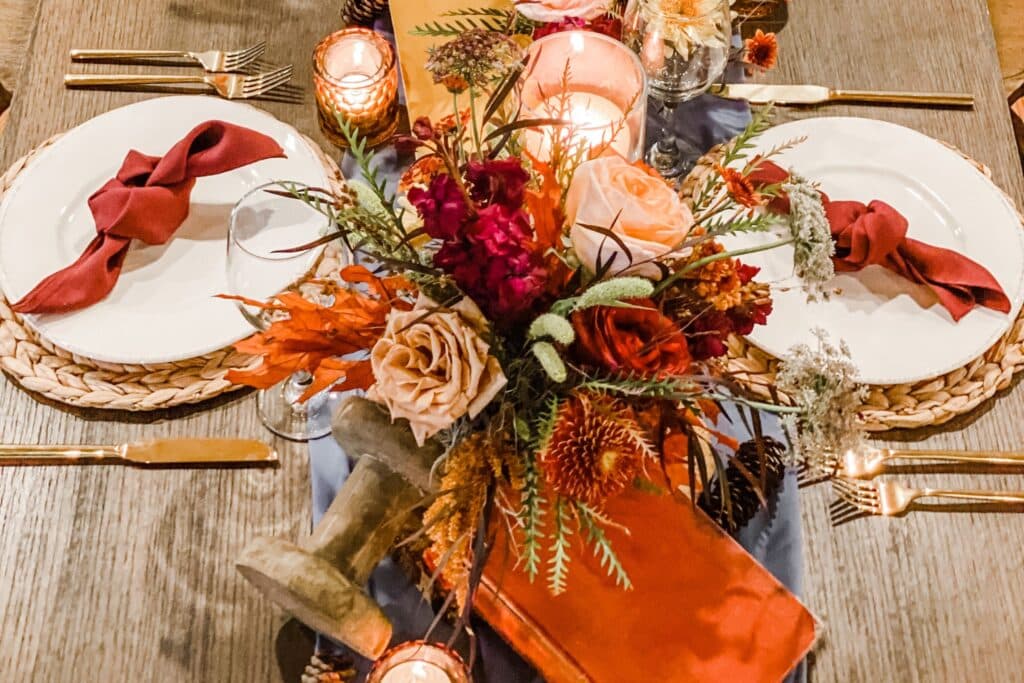
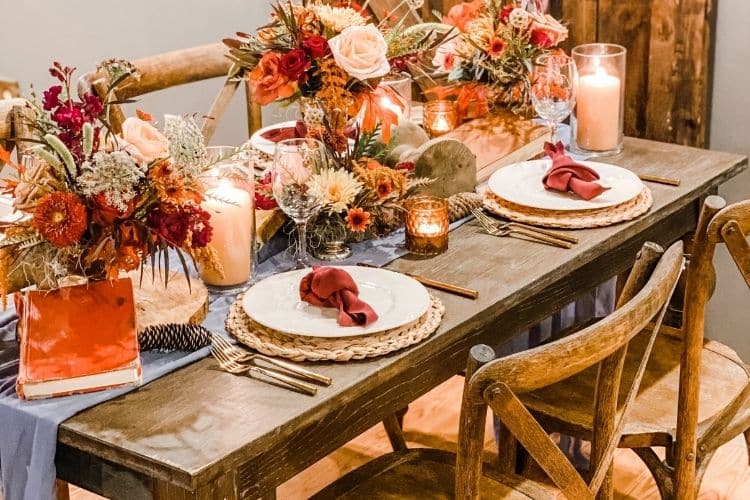
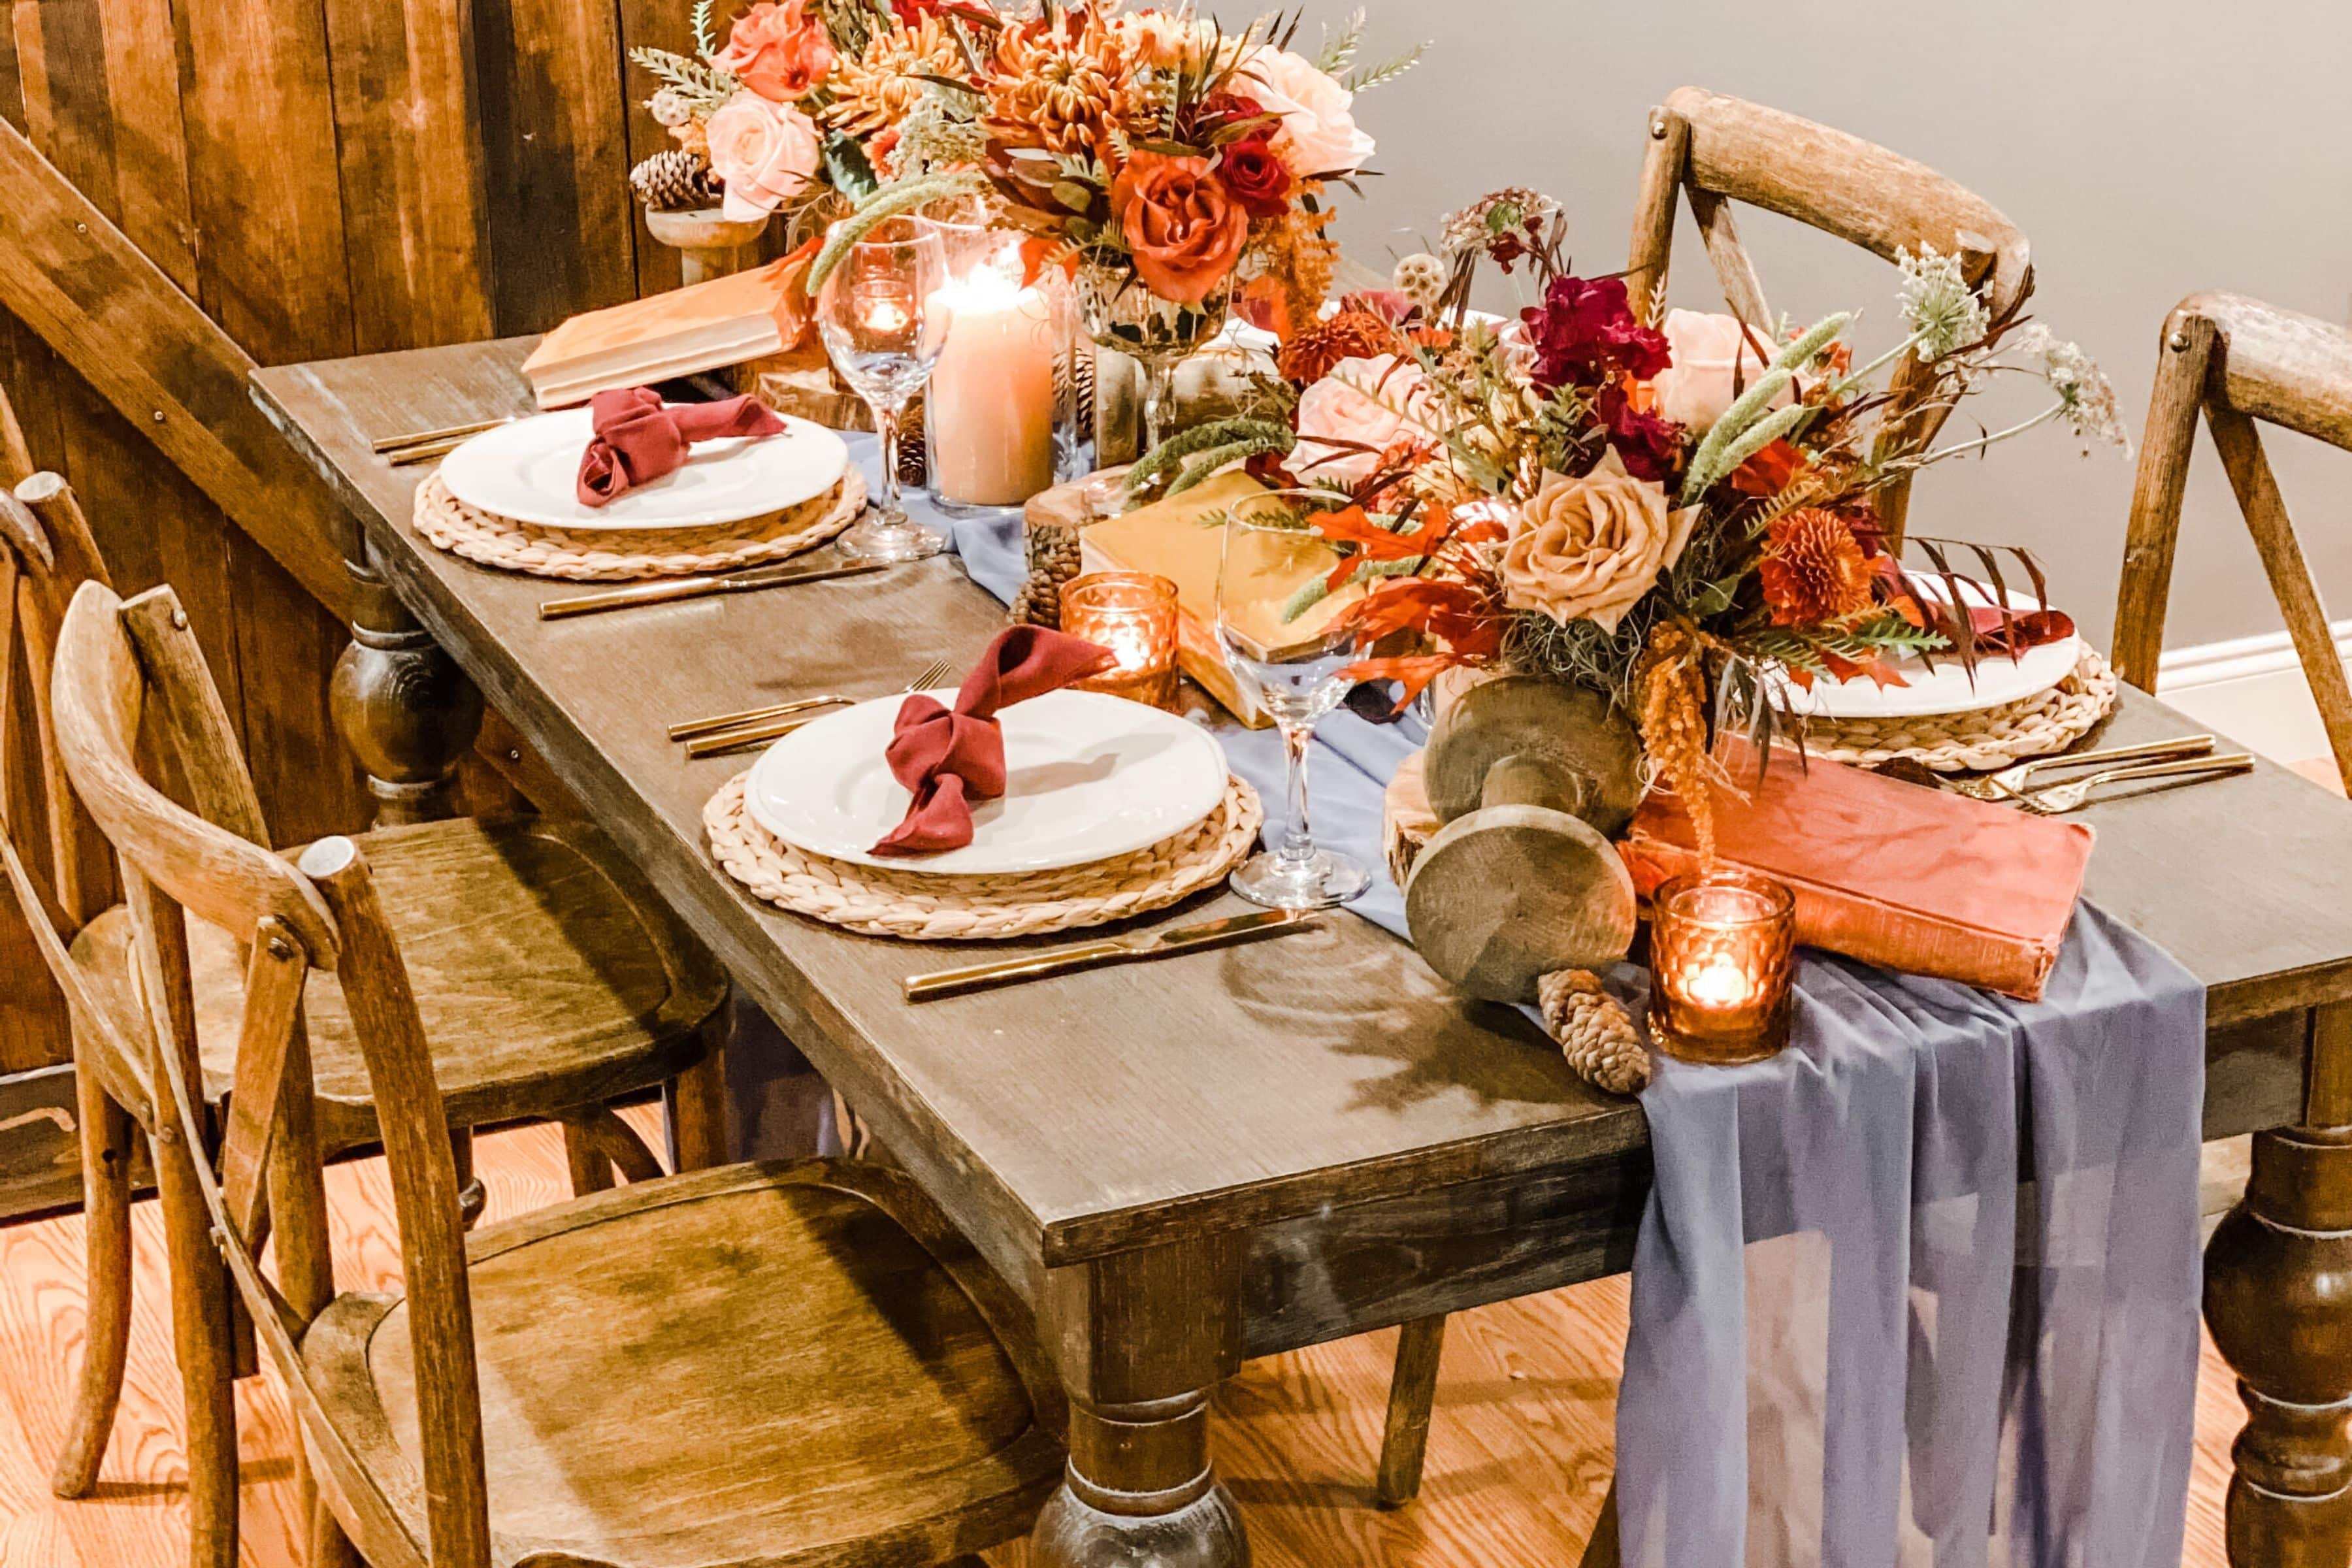
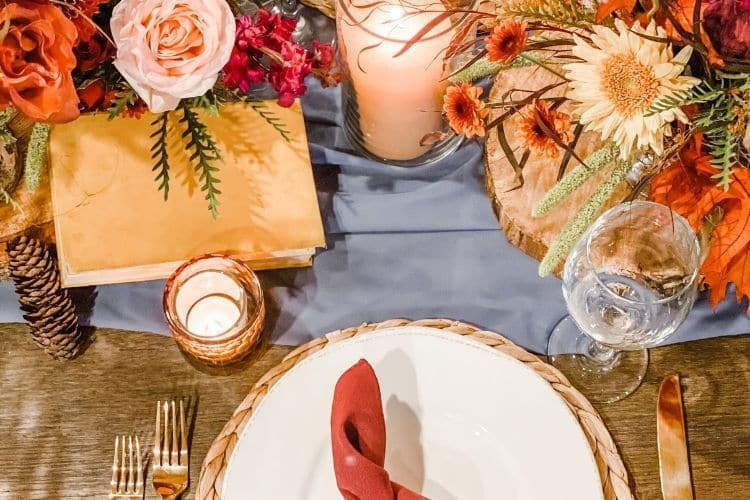
Now that you’ve designed the perfect arrangement for your Thanksgiving table design, you need to make the rest of the decor look just as cute! Colton suggests you add pine cones, spools, fun napkin arrangements, silverware and glassware, a runner, wood, and any other autumn decorations to ensure your table screams Thanksgiving and fall spirit. Finish off the look with some elegant candles. Now you’re ready to wow your crowd, no matter how intimate and small it might be this year, with your stunning Thanksgiving table design!

We hope you enjoyed these 6 easy steps for creating a perfect Thanksgiving table design for the upcoming holiday! If you want to see how these ideas were put into action, check out Colton’s video tutorial here:
Thanksgiving Table Design Tutorial with Colton!
However, if you think there’s no way anyone can design the table better than the creator himself, then email colton@thejdkgroup.com. Not only does the Floral + Design Team create wonderful centerpieces and tablescapes like the one shown, but they also offer full home and business holiday decorating services!
Thank you so much for reading, and we hope your holiday is as beautiful as your new Thanksgiving table design.


